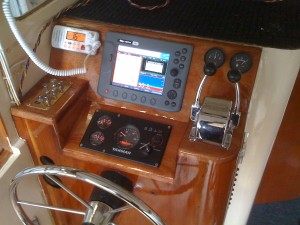
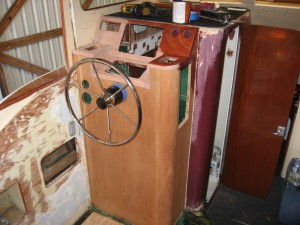
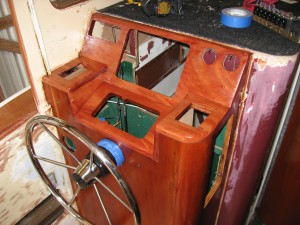
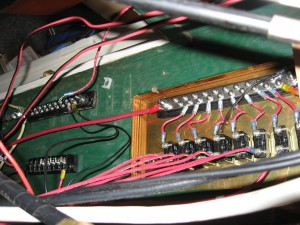
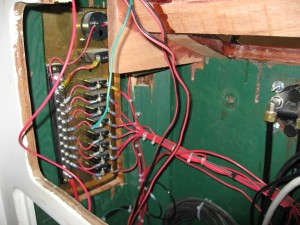
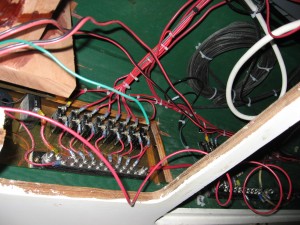
Above – Out with the old and in with the new, below:
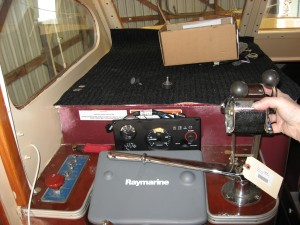
Above – the original configuration of the helm as it looked when we bought the Stormbird. It was a mish-mash of items collected together loosely in one place. The large Johnson bar that controlled the transmission was an obstruction across the entire work area. The compass was added in an unfortunate location, near plenty of moving iron that caused the compass to swing whenver something was moved or switched on. Half the switches were not connected to anything.
With the new engine comes a new engine control panel and an opportunity to change things around a bit. I want to move the chartplotter down out of the line of sight forward and replace the switches while locating them all in a central location.
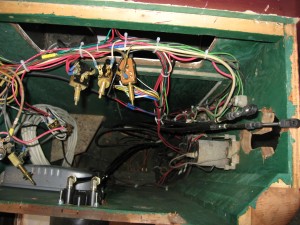
I also plan to completely re-wire the helm, remove the ancient fuses and replace them with proper marine circuit breakers, wiring and terminals.
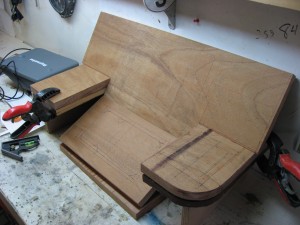
I begin by chopping some mahogany and laying out the new arrangement on the workbench at home. Using the old helm top, I configure the new helm top to replace the old one exactly.
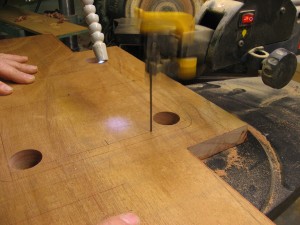
The scroll saw does a nice job of making the cutouts for the chartplotter, VHF and engine control panel.
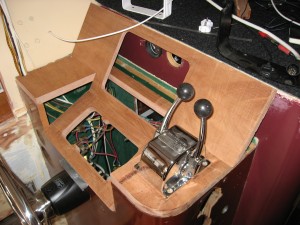
Test-fitting the components.
I will flush mount the charplotter, so I Google the instructions for installing the C80 control head and proceed to mark up the 1″ thick wood for a rebate to allow the screen to fit flush.
Mocked up and located down at the boat for some final adjusting, fitting, adjusting clearances and thinking about how I’m going to get all the bits to fit..
Looks like it’s going to work, so I expoxy the wood together and use bronze screws to fasten it all in place.
While the epoxy and varnish dries, I start on the electrical panel.
Not liking any of the prefabricated panels commercially available, I buy some brass sheet from Online Metals and use my Unibit to cut holes for the circuit breakers and voltmeter.
I’m using Seafit circuit breakers for the new electrical system and new Cole-Hersee switches. Three of the switches are two position for the nav/anchor lights, the heater blower and the windshield wipers.
After sanding down the entire helm, I apply the first of many coats of varnish.
I sand down the purple (!) paint on the lavatory as well as I am truly tired of looking at that horrible color.
Slowly, more coats of varnish go on and the head gets painted Bristol Beige.
While I wait for the varnish and paint to dry, I start re-wiring the DC electrical system.
Below – I paint the area over the windshield where the new windshield wiper motors will mount. More varnish on the helm and paint on the head and it’s getting close to done.
I place the engine control in location to check clearance between the engine control plates and the circuit breakers. Also the fuel gauge to determine wire length. Most of the wiring is complete, just need to wait for the last coat of varnish to dry before installing the equipment into the helm.
The wiring is much better – all new marine wire. marine wire terminals, etc. No more speaker wire, wire nuts or electrical tape!!


