
The 1942 Chrysler Crown Marine M7 flathead six cylinder gasoline engine installed in our 1947 30′ Monk design displacement cruiser decided to disconnect it’s number two piston connecting rod from the crankshaft journal recently and now it’s time to remove it. I decided not to repair it because I wanted a diesel for reliability, more power (torque) and lower fuel consumption, not to mention more power – did I say that already?
I looked at a modern gas replacement engine, but that would have been only a few thousand less than a diesel. I looked at the marine Deere line – but those are $20,000 for a 70 horse model and MER Equipment in Seattle said they had a nice 110HP Yanmar with transmission for $11, 251. Gulp.  Not including tax.
So, that’s what I did.

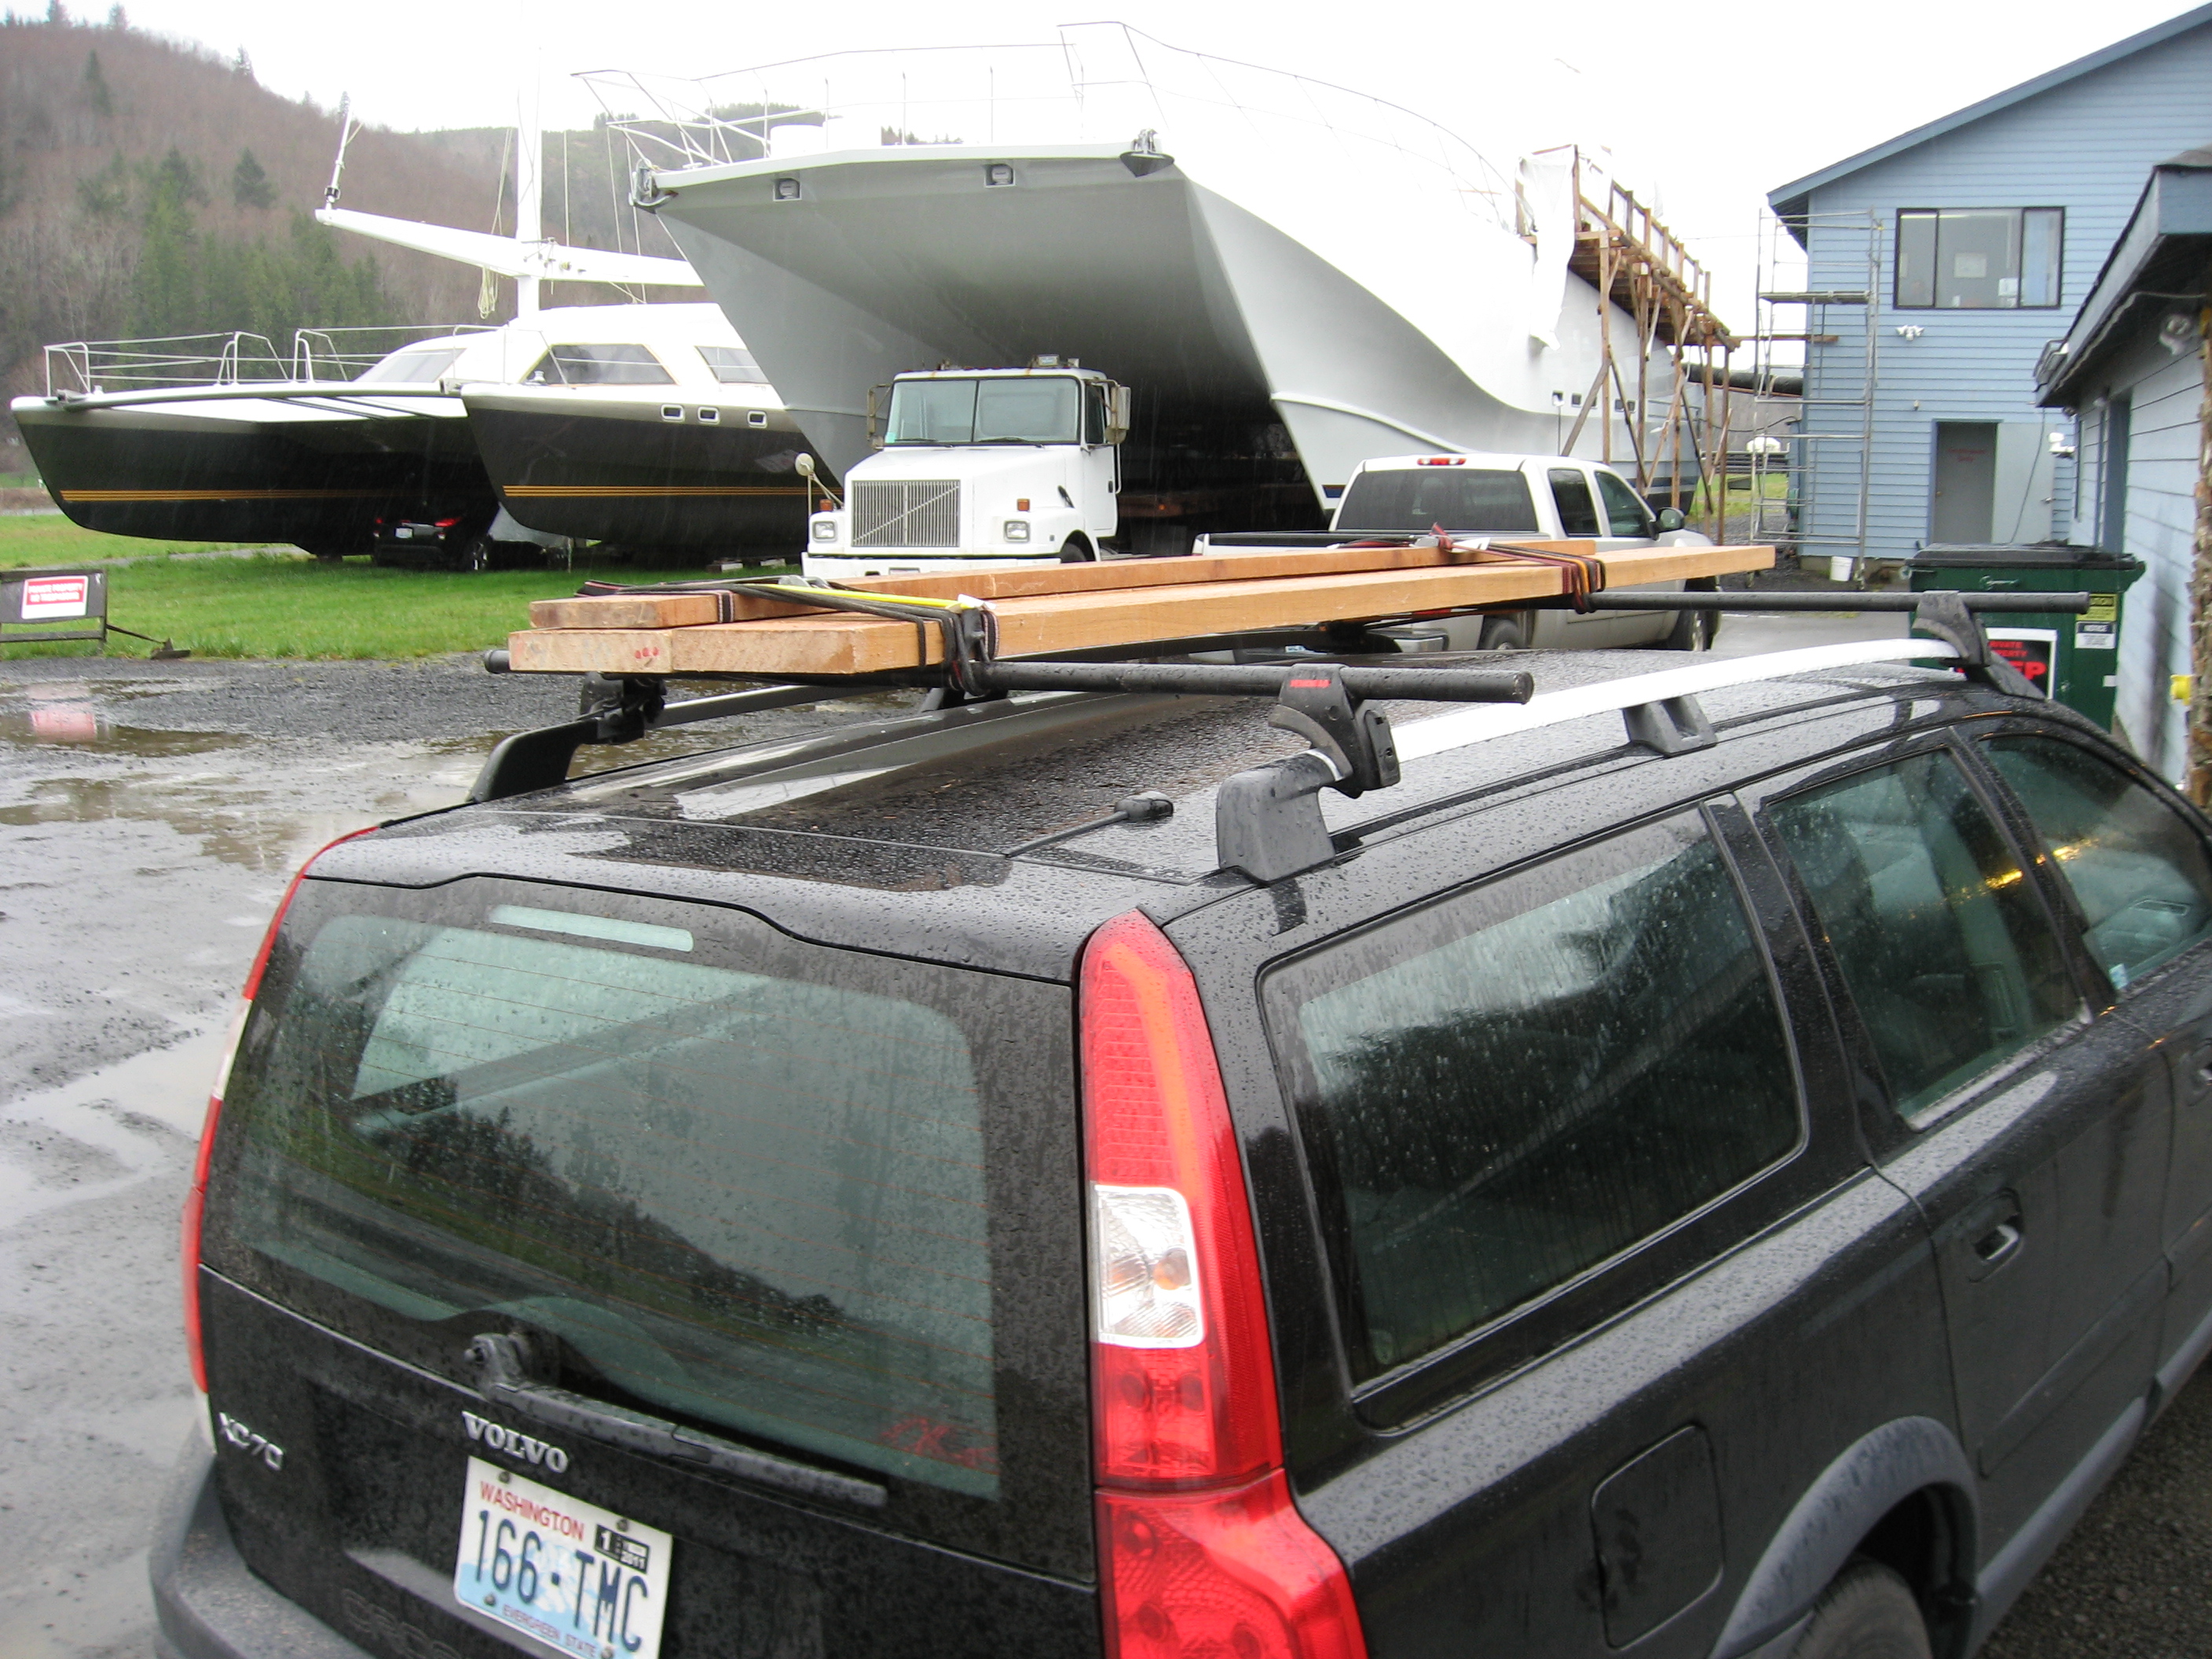
$12,000 later and the Yanmar is sitting in my garage, hauled home behind the Volvo from MER up by the ship canal. Good bunch of guys there, very helpful. Gonna need new engine beds and a new prop to match the new engine, plus a lot of other stuff that will keep me busy shopping for a week, then installing for another week. Time to haul the boat.

First I gotta take some measurements off the old engine and engine beds to try and get the new engine vertically aligned to the shaft. This becomes very complicated very quickly because the old Crown is a straight drive shaft and the entire engine is angled up 11.5 degrees to match the shaft angle. The Yanmar has an eight degree down angle output shaft coupling which allows the engine to be almost level. I thought it would be easy 😉

Above – I removed the aft bulkhead I replaced two years ago to allow easy access to get the old Crown out. The Crown weighs almost 1200 pounds and the new diesel weighs 545 lbs, including transmission.

Above – the old plumbing all comes out and gets much simplified. The new Yanmar needs only the seawater pickup because it has a heat exchanger with a closed cooling system, but the existing seawater pickup needs to move because the transmission on the new engine will sit right where the existing seawater pickup valve is – just to the left of the tranny output in the photo above. It also goes up from a 3/4″ pickup to a full 1″ I.D. pickup and then through a new seawater strainer. The costs begin to mount.

Friday – March 26, 2010 – Stormbird awaits the Travellift at Hylebos Marina. What a great crew – Sean the Travellift driver and shoring expert really knows his business, Diane in the office is very helpful and always friendly and John the yard hand is a hard working guy. They are very busy year round and this week the yard is almost full to capacity.

On the hard, disconnecting the Crown from its life support. I like using some finesse, hence the pry bar in the foreground 😉

The old flange bolts rusted onto the prop shaft took some convincing – but they yielded eventually.

Ready to be removed. Pipe wrench is a handy tool.

Above – Sean used the giant Clark forklift to pick the Crown out of the boat. Below – FAA Supervisor of the Year Mr. Dave May helped me remove the engine and keel cooler on Saturday. We also removed all of the plumbing, plugged three holes in the hull (two for the keel cooler which is no longer used and one for the old seawater pickup). Dave also removed the old alternator located in the bilge(!). Dave’s Dad is Chief Engineer on a fishing boat that works the Bering Sea, so he knows about boats from his younger years as a deckhand.

Below – the old oily Crown made a mess

I spent half of Sunday cleaning the bilge – what a chore!

After cleaning the bilge, I got some clear, straight-grain, Douglas Fir (same as the original beds) and started the installation process.

After lots of measuring and fitting, the new beds are cut to size and installed with lots of large, long 3/8″ bolts.

Above – I use a puller to coax the rusted shaft flange off the prop shaft. This thing was a mess!

Above – new beds in and painted with some green paint that does not dry in 40 degree weather, I tracked that green crap around for three days!!! Next time, I’m sticking with Interlux Brightsides, I’ve never had a problem with Brightsides, it always dries, even in the crappiest PNW weather. This green crap was a complete disaster.

The engine arrives from the shed where Hylebos stored it for a few days for me. Prop removed, new 17×17 Michigan Wheel from Tacoma Propeller will replace the old 17×11 prop that was installed. The Tacoma Prop guys were very helpful and went out of their way to help me when I thought I needed a spacer – but did not in the end. Another great group of professionals that I highly recommend.
When I first bought the engine, I talked to Sound Prop in Seattle about engine/prop combination suitable for the Monks’s displacement hull. I was concerned about the original offering from MER for the 110hp engine with a 2.63:1 gear. Sound Prop said I would need a 23″ diameter prop. That diameter would not fit the Monk, so they talked to Dave Walker over at MER and Dave offered to install a 2.04:1 transmission on the Yanmar, no additonal charge – another entry on the good people list! Then Sound prop said an 18×15 would work, but an 18″ prop won’t fit with the required 20% tip clearance, so they said a 17×17 would do the trick.
The only reason I didn’t buy the prop from Sound Prop is because Tacoma Propeller is right down the street from the Hylebos and were much more convenient than driving all the way up to Seattle – just in case I had to take it back for whatever reason. I can’t say enough good about Sound Prop – they really helped me make this decision on the Yanmar and were very helpful. Maybe someday I’ll be able to give them some business, or maybe send some their way. They join the list of good guys in this adventure!

Tuesday – Sean gets the Clark out and drops the engine in. It almost fits! The shaft flanges are aligned at the proper height, but the angle is about 2 degrees off – I was close – but no cigar. The only thing to do is lower the front end.

So, I get out the Fein tool and the chisel and start beavering away at the engine beds. The beds are well oversize for this engine, so chopping and inch off the top doesn’t bother me – it actually takes it down to the same dimension of the Crown beds – and that engine weighed more than twice as much as this diesel… same horsepower and the diesel has more torque.

Below – the new Morse controls are installed. New throttle and transmission cables are installed and rigged.

Above – added to the list of projects is a new helm station – the old station is full of holes from unused instruments, etc. Check out the vintage fuel tank sounder – maybe e-Bay?

Running the new engine control harness. Al the Yanmar needs is 12 VDC battery connection and a ground cable, everything else is controlled by the computer and a multi-connector cable going to the type C instrument panel. 80A alternator comes with it. Just needs fuel in and out, seawater pickup and 12 volts. Sweet.

And it needs an exhaust hose connected. It’s 3 inch hose coming out of the mixing elbow downstream of the turbo, I went down to Williams Oil Filter Supply in Tacoma, another simply amazing place, and they sold me some 3″ exhaust hose, a reducer and some hose clamps. Fiberglass elbow, seawater pickup, strainer and numerous other bits like the fuel filter/water separator, control cables and many bronze fittings came from Fisheries Supply in Seattle.

Connecting the battery-to-engine cable to the battery selector.

Below – Bleeding the fuel lines using the handy plunger Yanmar installed on top of the engine fuel filter.

After connecting everything, I put the seawater pickup hose in a bucket of water and fired up the new engine. Works great! Next post will be sea trials!!


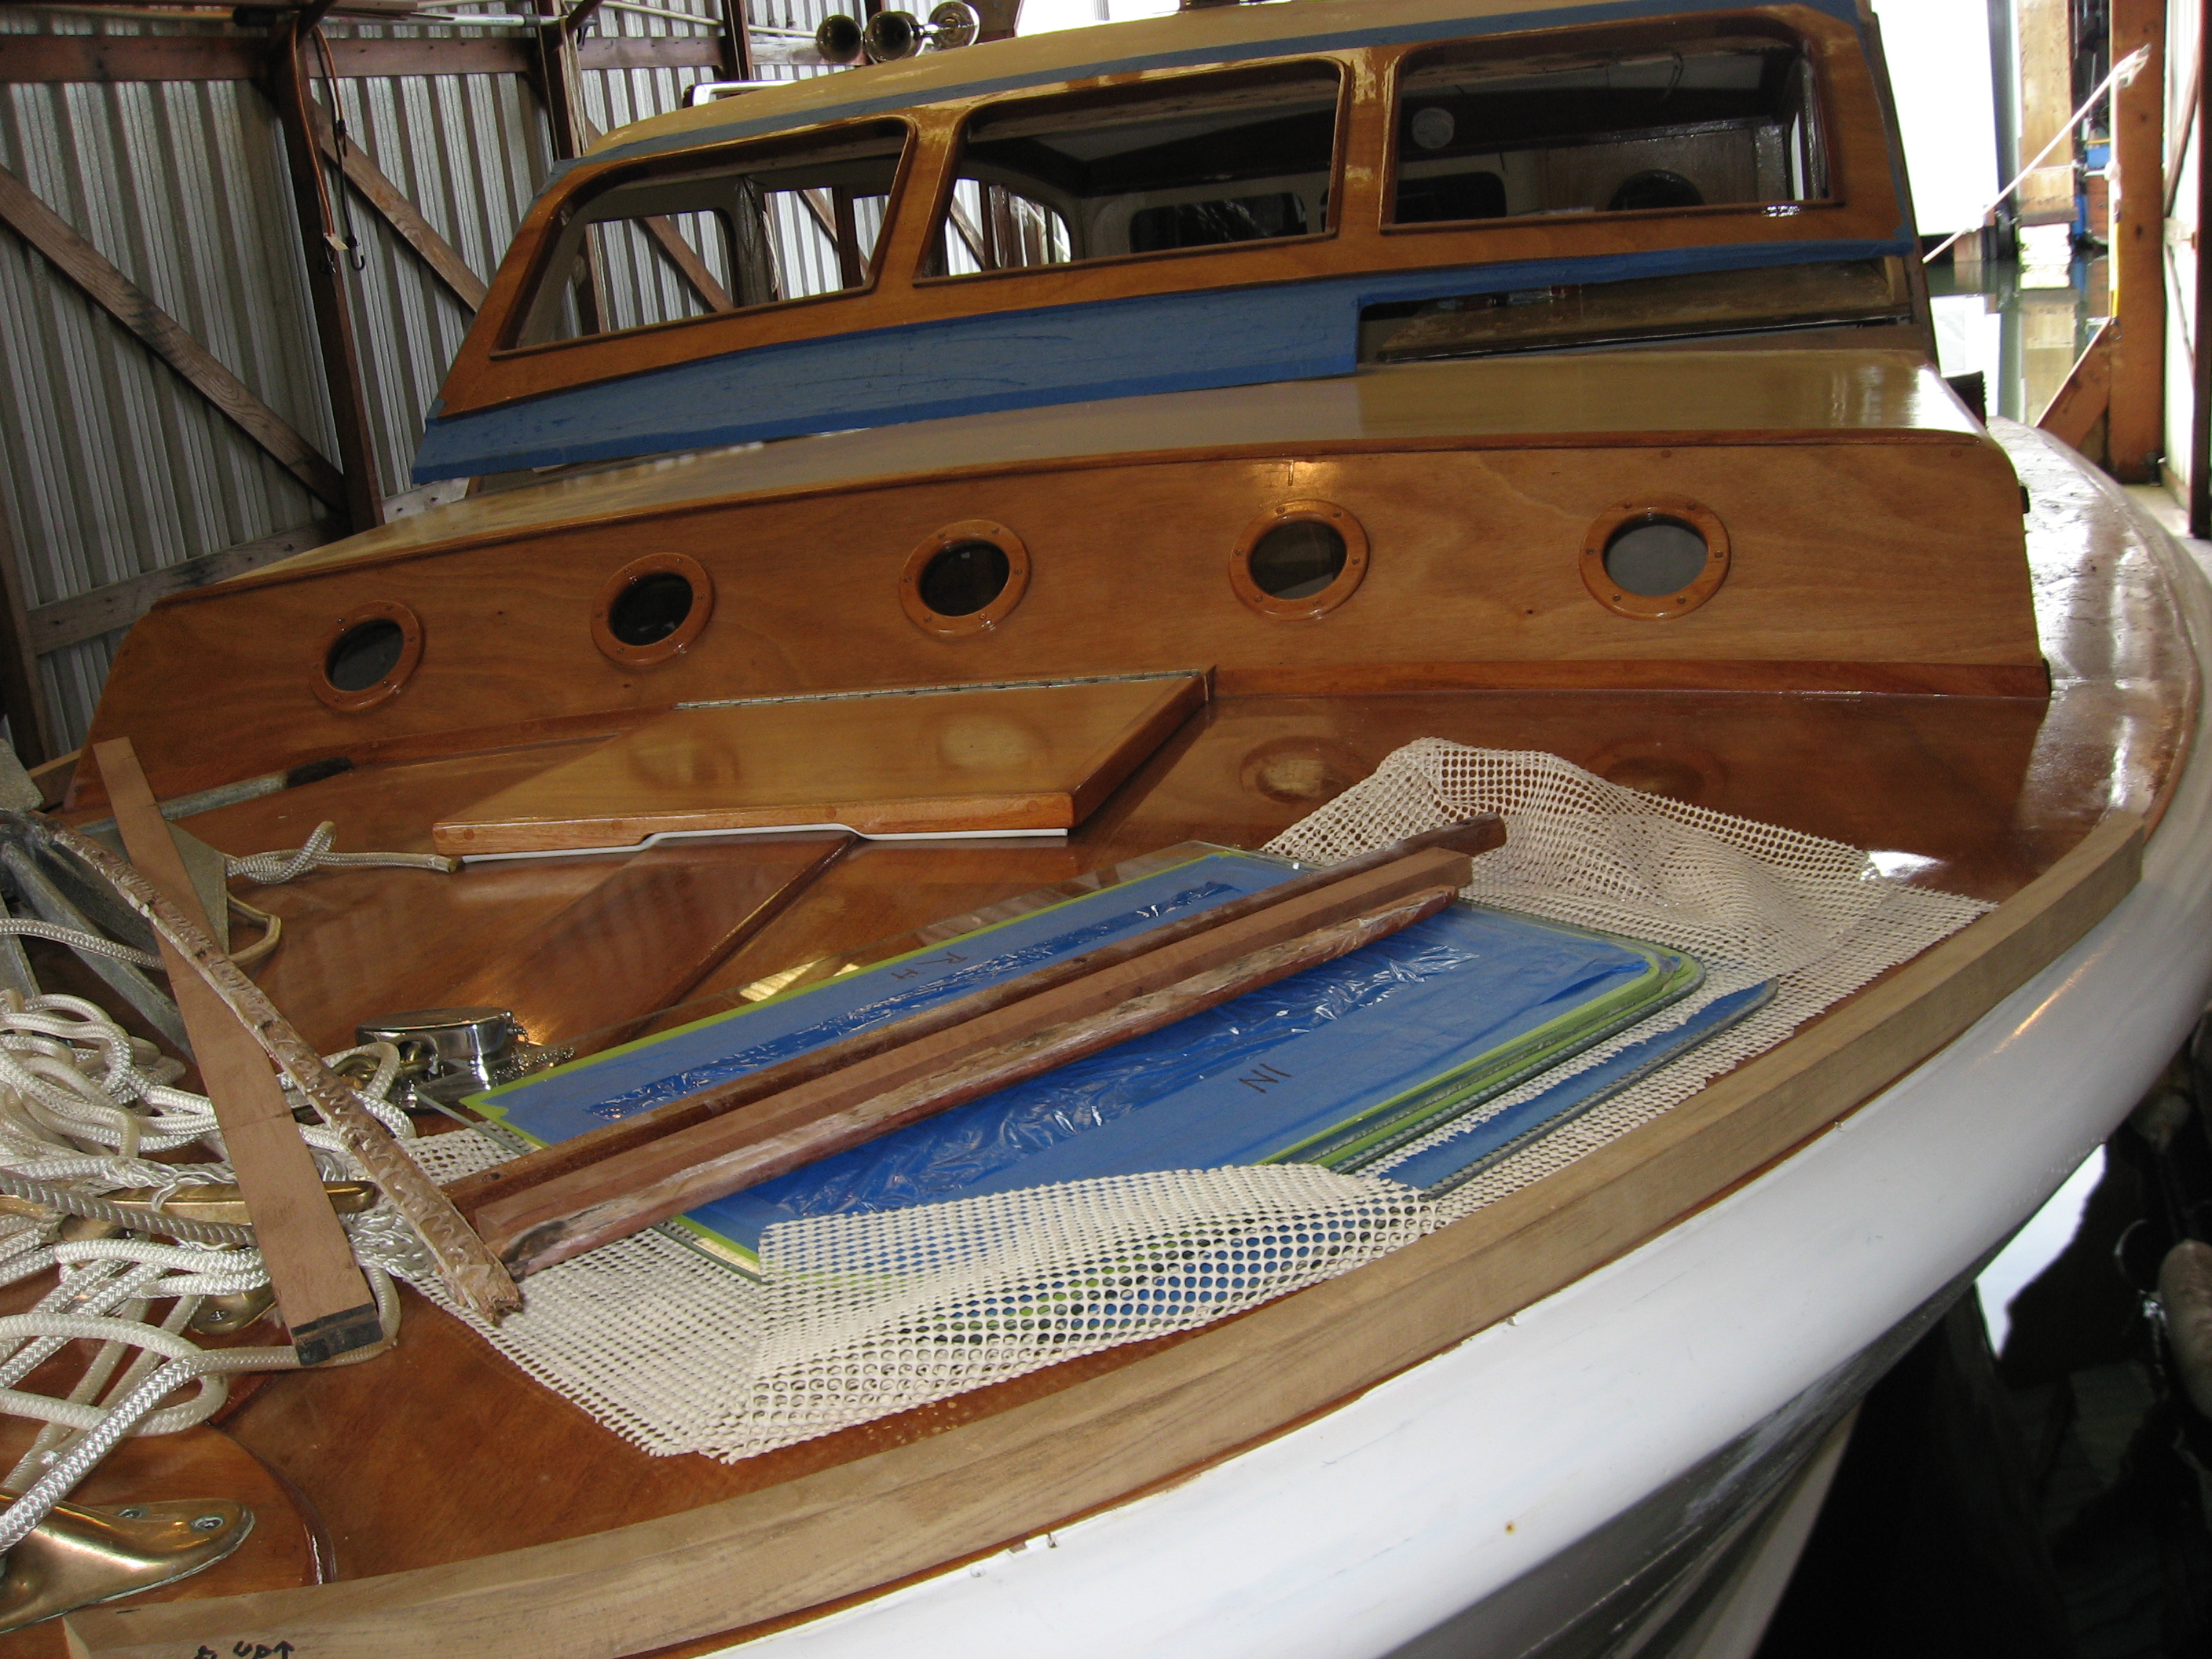
I’ve not seen another hull like this Monk – with the rounded gunwales, tumblehome at the transom and relatively narrow beam – 9′. Wish I knew more about its history.

I do appreciate that you have taken the time to keep this beauty in such good condition. However my Stephens is the Love of my life. Back to the reason I am writing, what did you do with the Chrysler Crown motor, and running gear?
Hi Richard, I sold the motor and trans to a guy in town that has a large collection of old Chrysler vehicles, Probably 10 years ago.